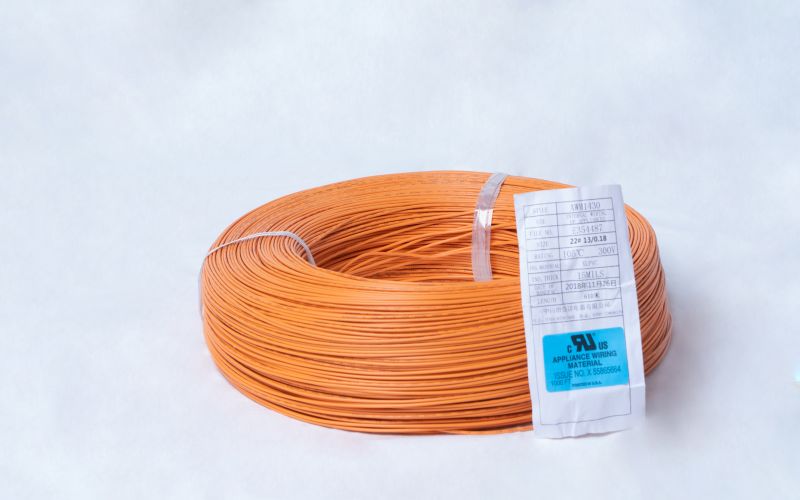
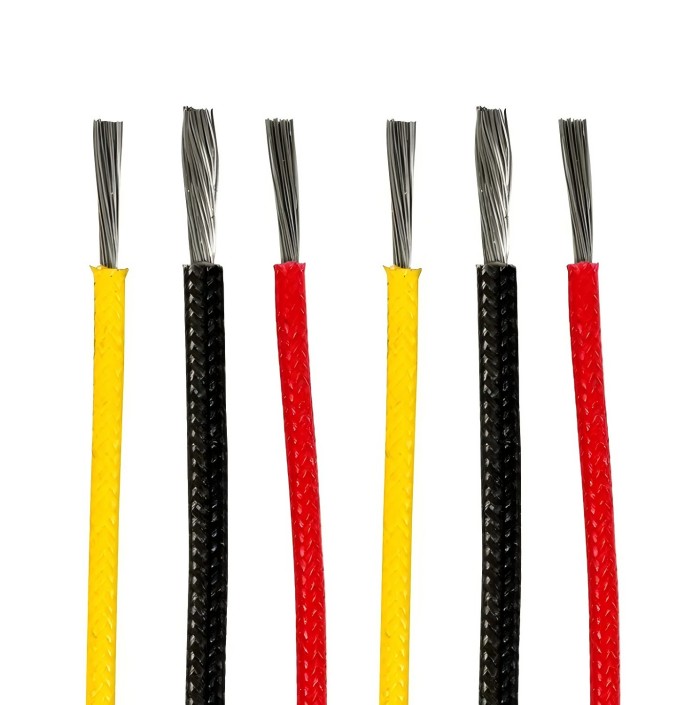
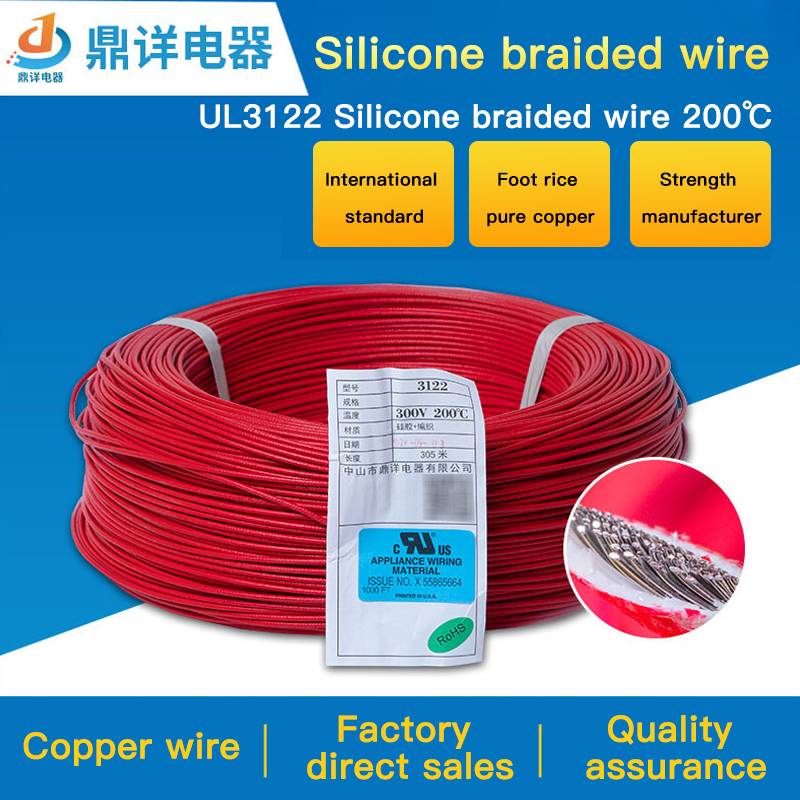
Silicone braided wire is widely recognized for its durability, flexibility, and high-temperature resistance. Proper installation is crucial to ensure maximum efficiency, safety, and longevity. This guide walks you through the key steps and best practices for installing silicone braided wire effectively.
Step 1: Understand the Specifications
Before installation, review the wire’s specifications to ensure it meets the requirements of your application. Key factors to consider include:
Temperature Range: Silicone braided wire can typically withstand temperatures from -60°C to +200°C.
Voltage Rating: Ensure the wire’s voltage rating matches your application.
Certification: Confirm it meets relevant standards, such as UL certification, for safety and performance.
Step 2: Prepare the Installation Environment
A clean and organized workspace ensures a smooth installation process. Follow these guidelines:
Remove Dust and Debris: Ensure the area is free from contaminants that could affect wire performance.
Assess Environmental Conditions: Ensure the environment is within the wire’s temperature and moisture tolerance levels.
Step 3: Cut and Strip the Wire Correctly
Accurate cutting and stripping are essential to maintain the wire’s integrity:
Use a high-quality wire cutter to ensure a clean cut.
Strip the insulation carefully to avoid damaging the silicone layer or the conductor underneath.
Measure and cut precisely to avoid wastage.

Step 4: Choose Appropriate Connectors
Select connectors that are compatible with silicone braided wire. These connectors should:
Withstand high temperatures and environmental conditions.
Ensure a secure and stable connection.
Step 5: Install the Wire Securely
When routing the wire, consider the following:
Avoid Sharp Edges: Prevent the wire from coming into contact with sharp edges to reduce wear and tear.
Maintain Proper Tension: Avoid over-tightening the wire to retain its flexibility.
Use Cable Ties or Clamps: Secure the wire in place without crushing or deforming it.
Step 6: Test the Installation
After installation, conduct thorough testing to ensure proper functionality:
Electrical Testing: Verify continuity and insulation resistance.
Load Testing: Ensure the wire performs as expected under operational loads.
Temperature Testing: Check that the wire operates efficiently within its temperature range.
Step 7: Implement Regular Maintenance
To maximize efficiency and lifespan, schedule regular inspections:
Look for signs of wear, such as fraying or discoloration.
Ensure connections remain tight and secure.
Replace damaged wires promptly to avoid further issues.
Common Mistakes to Avoid
Improper Sizing: Using a wire that doesn’t match the load or application requirements.
Overbending: Exceeding the wire’s bend radius, leading to damage.
Neglecting Environmental Factors: Installing wires in unsuitable conditions, such as high moisture or excessive heat, can degrade performance.
Final Thoughts:
Proper installation of silicone braided wire is essential for maximizing its efficiency and reliability. By following these steps and avoiding common pitfalls, you can ensure a safe and durable wiring system. If you’re sourcing high-quality silicone braided wire, consult reliable suppliers or manufacturers to guarantee optimal performance for your application.


